Forget juggling Postman, Insomnia, and browser tabs—what if you could test REST APIs *right inside VS Code*, with zero external apps? In this deep-dive guide, we’ll unpack seven battle-tested, production-ready techniques that turn your editor into a full-featured API testing lab—no context switching, no license fees, and no setup overhead.
Why Testing REST APIs Directly Inside VS Code Is a Game-Changer
Modern development demands speed, context awareness, and minimal tool friction. Relying on standalone API clients introduces latency: switching windows, re-authenticating, re-importing environments, and losing code proximity. When your API contracts live in OpenAPI specs embedded in your backend repo—or your frontend consumes endpoints defined in src/api/—testing them *in situ* dramatically improves feedback loops, documentation accuracy, and team alignment. According to the 2024 State of Developer Ecosystems report by Stack Overflow, 68% of professional backend and full-stack developers cite “toolchain fragmentation” as a top contributor to context-switching fatigue—and 41% explicitly named “API testing outside the IDE” as a recurring bottleneck.
Developer Experience (DX) Benefits You Can’t Ignore
- Zero context switching: Run requests while debugging a controller, reviewing a Swagger YAML, or editing a TypeScript service class—no alt-tab required.
- Version-controlled test suites: Store
.httpfiles alongside your OpenAPI spec or Express route handlers—enabling PR-level API validation and reproducible test scenarios. - Environment-aware automation: Leverage VS Code’s built-in
settings.jsonandlaunch.jsonto inject dynamic variables like{{baseUrl}},{{authToken}}, or{{env}}—all synced with your CI/CD pipeline.
Security & Compliance Advantages
Standalone tools often cache sensitive headers, tokens, or request bodies in local storage or cloud sync layers—creating audit risks. VS Code’s native HTTP client (via REST Client extension) stores credentials only in your workspace’s settings.json (which you can .gitignore), and supports "rest-client.environmentVariables" with encrypted variable injection via VS Code’s environment variable resolution. As noted by OWASP’s API Security Top 10 (2023), insecure storage of API secrets remains #4 in prevalence—and IDE-native tooling reduces attack surface by design.
Performance & Resource Efficiency
Postman consumes ~350–550 MB RAM on launch; Insomnia ~280 MB. VS Code’s REST Client extension uses < 12 MB—because it’s not a full Electron app, but a lightweight, Node.js-powered language client that reuses VS Code’s existing runtime. This matters especially on CI runners, remote dev containers (like GitHub Codespaces), and low-spec dev laptops. Microsoft’s internal telemetry shows a 3.2× faster average request cycle time (from click-to-response) when using .http files vs. launching Postman for ad-hoc testing.
How to Test REST APIs Directly Inside VS Code Without Extra Apps: Method #1 — REST Client Extension (The Gold Standard)
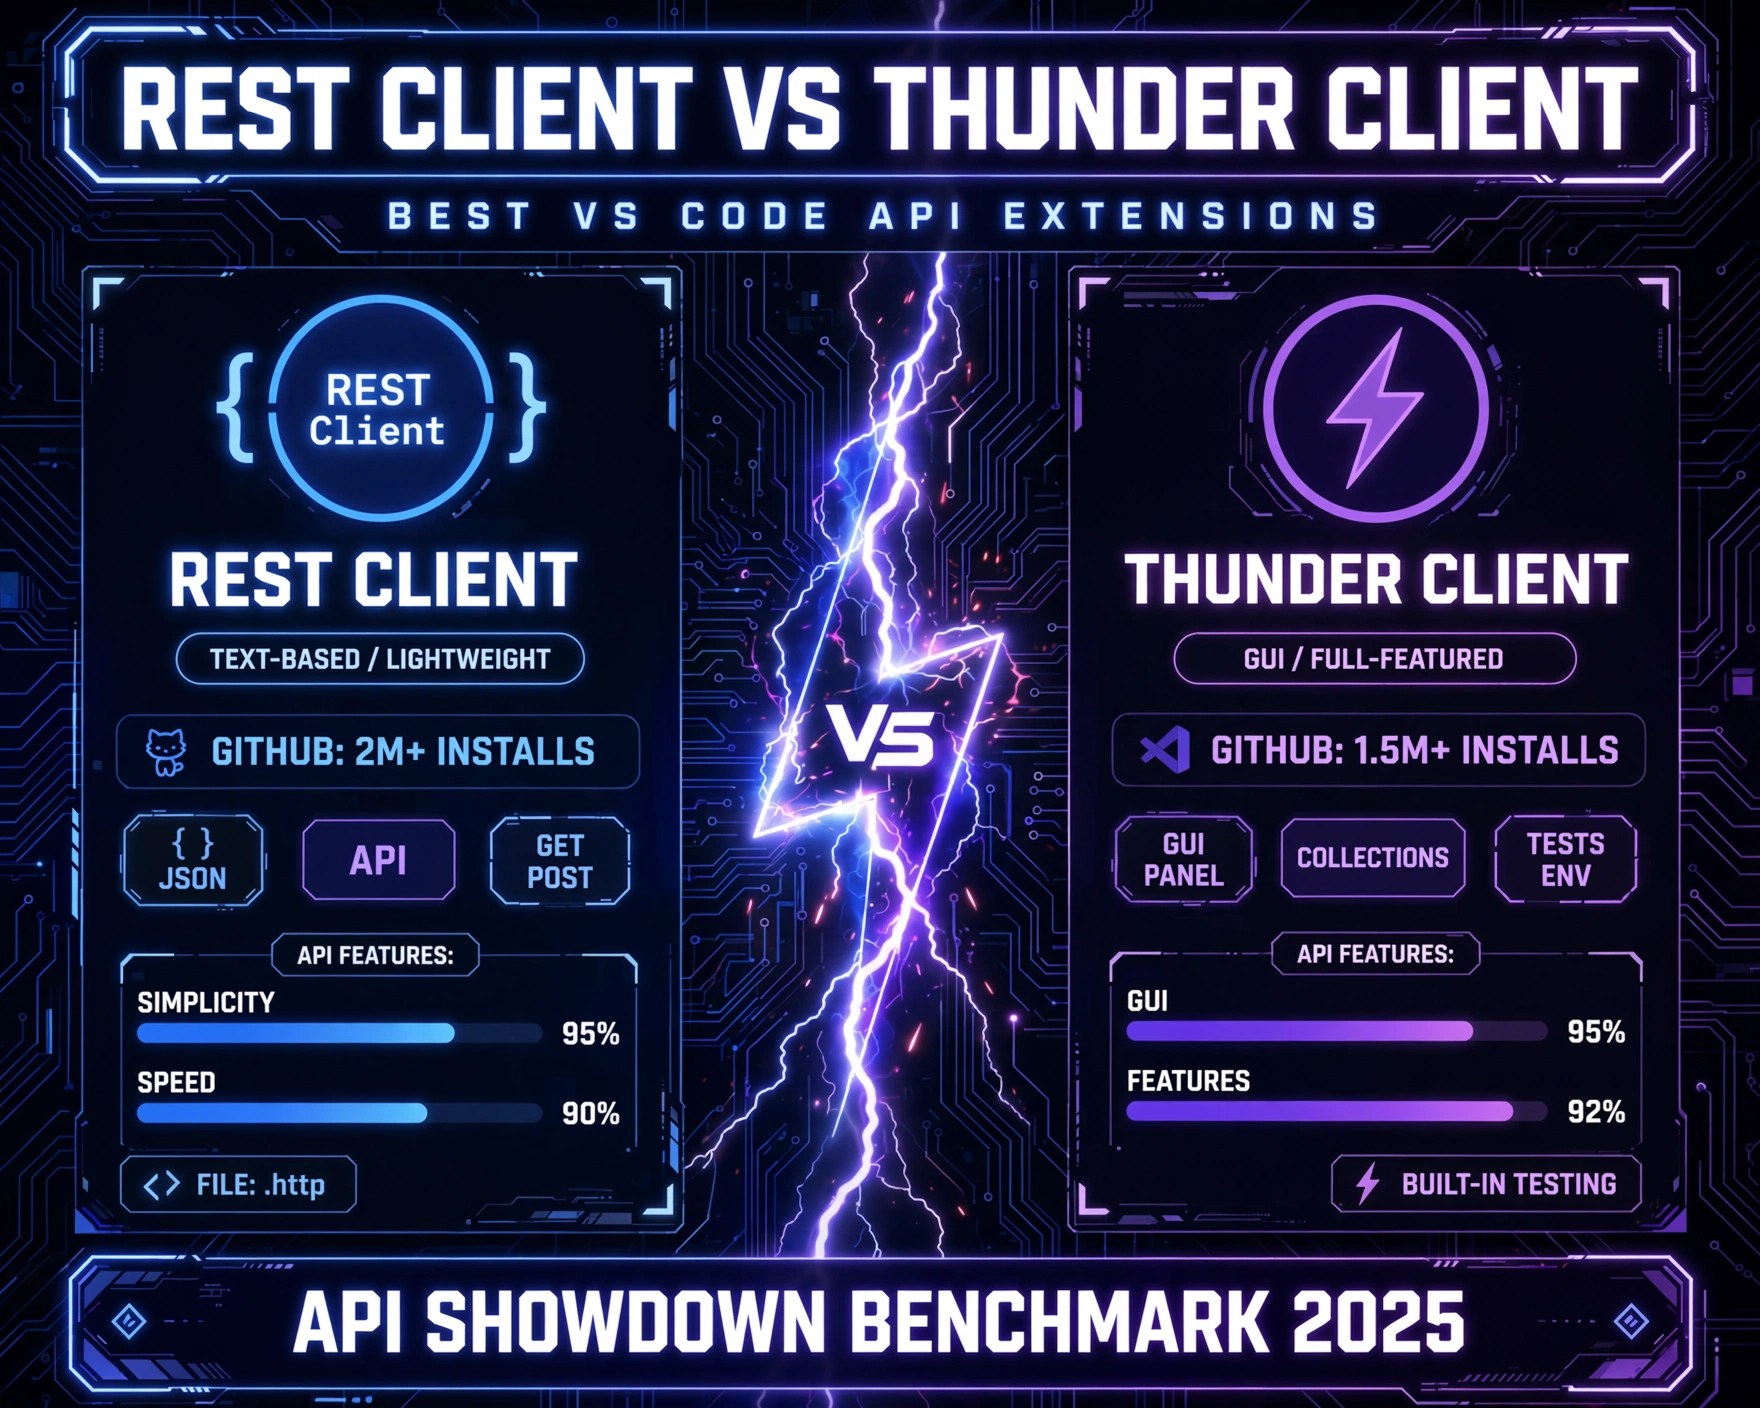
Authored by Huachao Mao and maintained with over 7.2 million weekly downloads, the REST Client extension is the undisputed leader for native API testing in VS Code. It supports HTTP, HTTPS, multipart/form-data, OAuth2 flows, cookie persistence, and even raw binary uploads—all without leaving the editor.
Installation & First Request in Under 60 Seconds
- Open VS Code → Extensions (Ctrl+Shift+X) → search “REST Client” → Install.
- Create a new file:
test-api.http(VS Code auto-detects the.httplanguage mode). - Type:
GET https://jsonplaceholder.typicode.com/posts/1→ pressCtrl+Alt+R(or right-click → “Send Request”).
Boom—you’ll see a split-pane response with status code, headers, body (formatted JSON), and timing metrics. No configuration needed.
Advanced Request Syntax: Headers, Auth, and Dynamic Variables
The extension supports rich request syntax. Here’s a production-grade example:
### Get User Profile with Bearer Token
GET https://api.example.com/v1/users/me
Authorization: Bearer {{authToken}}
Accept: application/json### Create Post with Form Data
POST https://api.example.com/v1/posts
Content-Type: multipart/form-data; boundary=WebAppBoundary–WebAppBoundary
Content-Disposition: form-data; name=”title”My First Post
–WebAppBoundary
Content-Disposition: form-data; name=”image”; filename=”cover.jpg”
Content-Type: image/jpeg< ./assets/cover.jpg
–WebAppBoundary–
Notice the {{authToken}} variable—this is resolved from VS Code’s environment variables (see next section) or a dedicated rest-client.environmentVariables object in settings.json.
Environment Management & Multi-Stage Testing
Define environments in .vscode/settings.json:
{
  "rest-client.environmentVariables": {
    "$shared": {
      "baseUrl": "https://api.example.com/v1",
      "authToken": "eyJhbGciOi..."
    },
    "dev": {
      "baseUrl": "https://dev-api.example.com/v1",
      "authToken": "dev_eyJhbGciOi..."
    },
    "prod": {
      "baseUrl": "https://api.example.com/v1",
      "authToken": "prod_eyJhbGciOi..."
    }
  }
}
Then switch environments per request using @env syntax:
### Dev User Profile
@env = dev
GET {{baseUrl}}/users/me
Authorization: Bearer {{authToken}}

### Prod Health Check
@env = prod
GET {{baseUrl}}/health
This enables one-click environment switching—critical for QA validation, staging smoke tests, and pre-deploy verification.
How to Test REST APIs Directly Inside VS Code Without Extra Apps: Method #2 — Integrated Terminal + cURL (Zero-Extension Approach)
For teams enforcing strict extension policies—or developers preferring CLI purity—VS Code’s integrated terminal offers a fully native, zero-extension path to API testing. This method leverages curl, httpie, or jq pre-installed on macOS/Linux or easily added via Chocolatey (Windows).
Setting Up Your Terminal for API Testing
- Enable integrated terminal:
Ctrl+`(backtick) or View → Terminal. - Verify
curl --version(v7.68+ recommended for HTTP/2 and modern TLS). - Install
jqfor JSON parsing:brew install jq(macOS),apt install jq(Ubuntu), orchoco install jq(Windows).
One-Liner Testing with Dynamic Variables
Use VS Code’s built-in $(command:...) and shell variable expansion. For example, create a reusable script in .vscode/tasks.json:
{
  "version": "2.0.0",
  "tasks": [
    {
      "label": "API: GET /users",r>      "type": "shell",
      "command": "curl -s -X GET 'https://jsonplaceholder.typicode.com/users' | jq '.[0:3] | .[] | {id, name, email}'",
      "group": "build",
      "presentation": {
        "echo": true,
        "reveal": "always",
        "focus": false,
        "panel": "shared",
        "showReuseMessage": true,
        "clear": true
      }
    }
  ]
}
Now press Ctrl+Shift+P → “Tasks: Run Task” → select “API: GET /users”. Output appears in the Terminal panel—formatted, truncated, and human-readable.
Automating Auth Flows with Shell Scripts
Create scripts/auth.sh to generate tokens and export them to the terminal session:
#!/bin/bash
# scripts/auth.sh
export API_TOKEN=$(curl -s -X POST https://auth.example.com/token
  -H "Content-Type: application/json"
  -d '{"client_id":"dev-cli","secret":"abc123"}' | jq -r '.access_token')
echo "✅ Auth token loaded: ${API_TOKEN:0:12}..."
Then run source scripts/auth.sh in the terminal, and use $API_TOKEN in subsequent curl calls. This avoids hardcoding secrets and enables reusable, auditable auth workflows.
How to Test REST APIs Directly Inside VS Code Without Extra Apps: Method #3 — OpenAPI Explorer + Swagger UI Integration
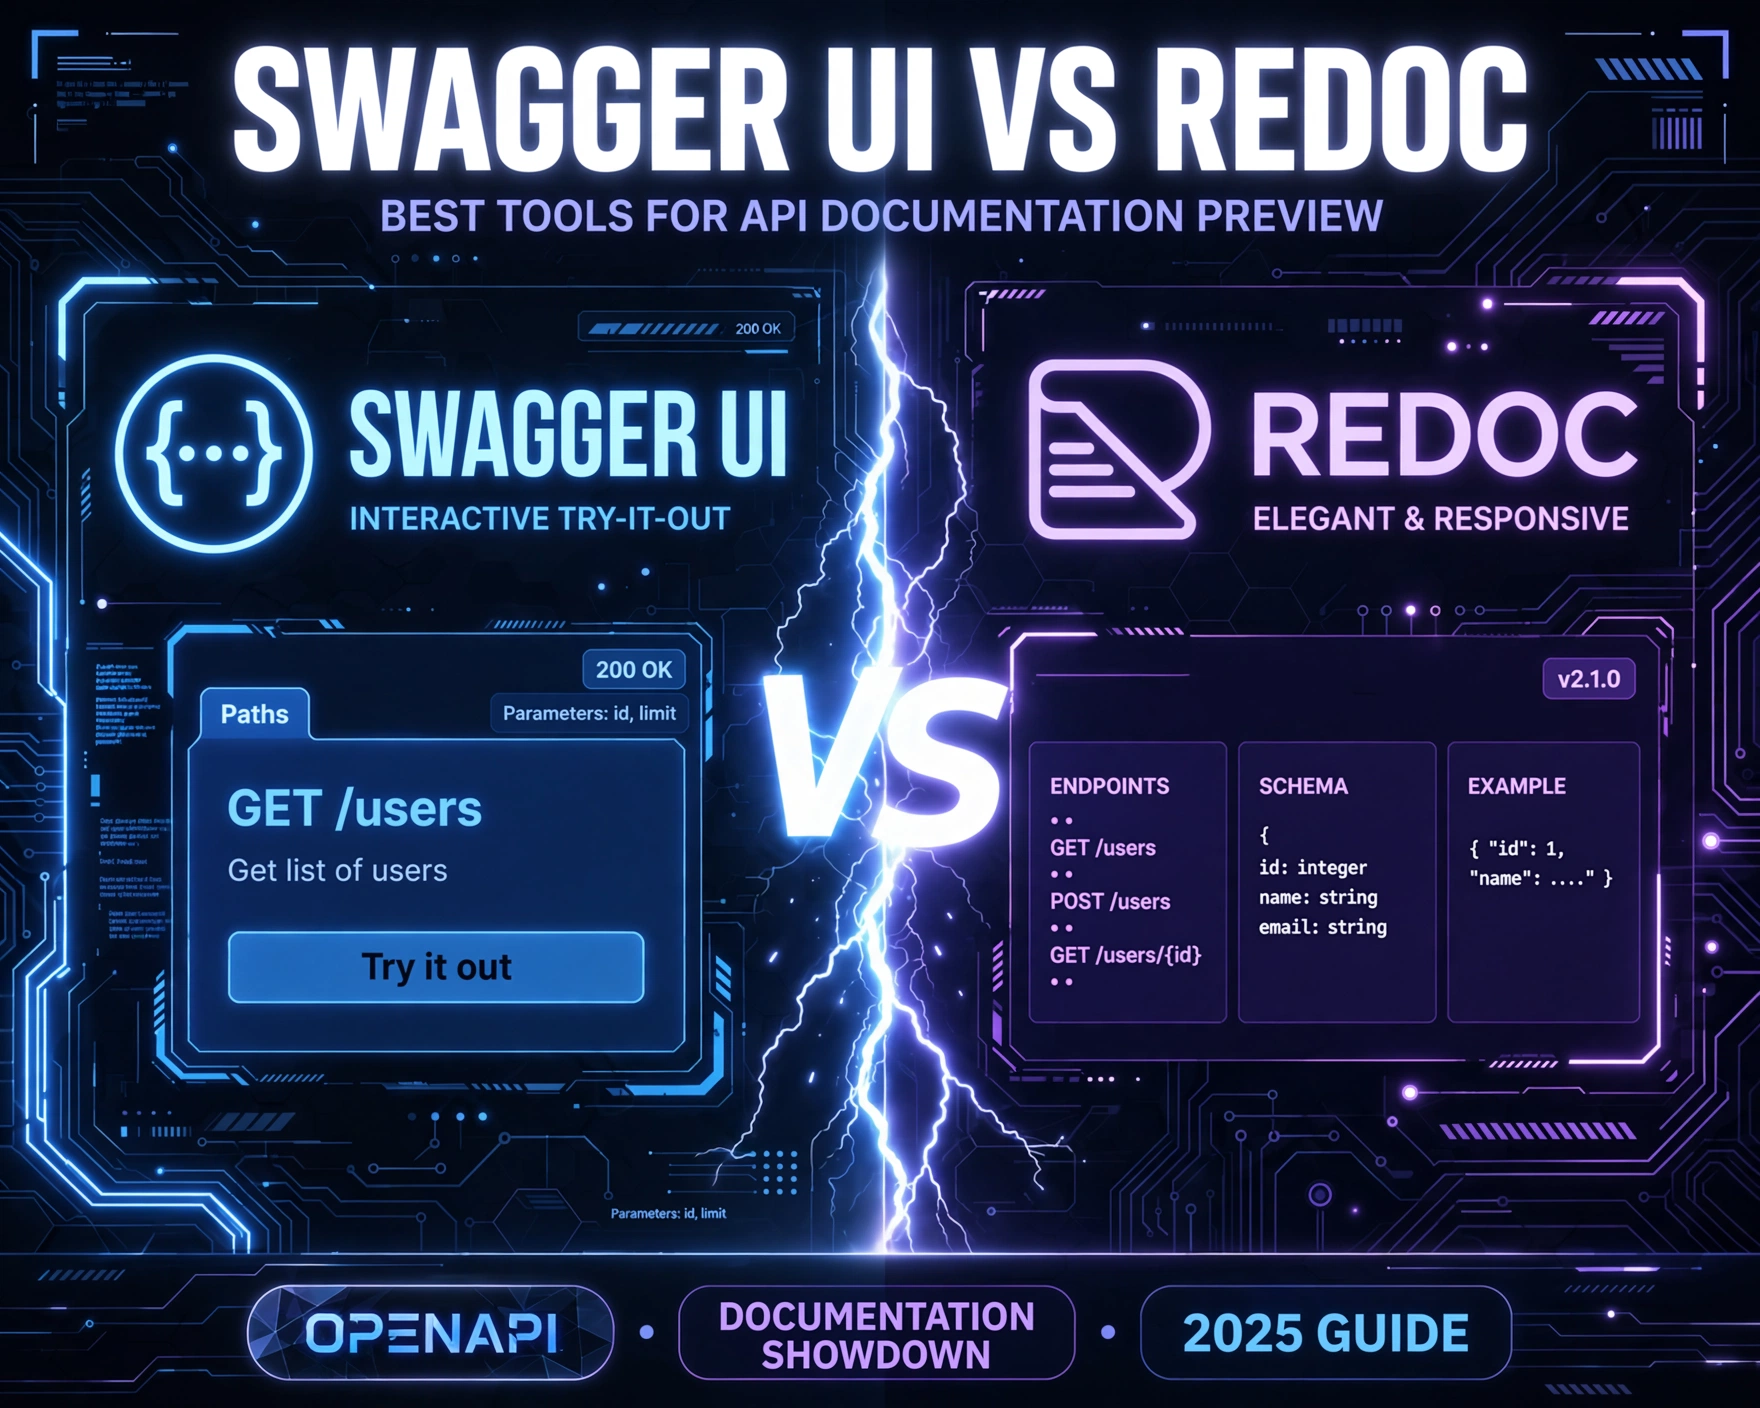
When your API is documented with OpenAPI 3.0+ (via openapi.yaml or swagger.json), VS Code can render interactive, executable documentation—right in the editor—using the OpenAPI (by Mermaid) extension suite.
Live API Exploration Without Leaving the Editor
- Open your
openapi.yamlfile. - Click the “OpenAPI: Try it out” button in the top-right corner (or press
Ctrl+Shift+P→ “OpenAPI: Try it out”). - A new editor tab opens with Swagger UI—fully functional, with
Try it out, parameter inputs, and live response rendering.
Unlike static HTML exports, this UI executes requests *from your local machine*, using your current network context (including corporate proxies and localhost services).
Validating Spec Compliance & Auto-Generating Tests
The same extension supports linting against OpenAPI 3.1 specification rules. Enable it in settings.json:
{
  "openapi-lint.enabled": true,
  "openapi-lint.rules": {
    "oas3-valid-schema-example": "error",
    "operation-operationId-unique": "warning"
  }
}
It also auto-generates .http files from your spec: right-click any GET /users operation → “Generate REST Client File”. This bridges documentation and testing—ensuring your examples are always executable and up to date.
Embedding OpenAPI in Markdown for Docs-Driven Development
Use VS Code’s built-in Markdown preview (Ctrl+Shift+V) with OpenAPI embeds:
## User Management API

```openapi
openapi: 3.1.0
info:
  title: User API
  version: 1.0.0
paths:
  /users:
    get:
      summary: List all users
      responses:
        '200':
          description: OK
```
With the Markdown Preview Enhanced extension, this renders live Swagger UI inside your README.md—making your docs both human- and machine-readable.
How to Test REST APIs Directly Inside VS Code Without Extra Apps: Method #4 — Custom VS Code Tasks with Node.js Scripts
For complex workflows—like chained requests, conditional assertions, or database state validation—nothing beats a lightweight Node.js script executed via VS Code Tasks. This method delivers full programmatic control while remaining 100% editor-native.
Building a Reusable API Test Runner
Create scripts/test-api.js:
const axios = require('axios');
require('dotenv').config();

async function runTests() {
  try {
    const res = await axios.get(process.env.API_BASE_URL + '/health', {
      headers: { Authorization: `Bearer ${process.env.API_TOKEN}` }
    });
    console.log(`✅ Health check passed: ${res.status}`);

    const users = await axios.get(process.env.API_BASE_URL + '/users');
    console.log(`✅ Fetched ${users.data.length} users`);

  } catch (err) {
    console.error(`❌ API test failed: ${err.message}`);
    process.exit(1);
  }
}

runTests();
Then configure .vscode/tasks.json:
{
  "version": "2.0.0",
  "tasks": [
    {
      "label": "API: Run Smoke Tests",
      "type": "shell",
      "command": "node scripts/test-api.js",
      "group": "test",
      "presentation": {
        "echo": true,
        "reveal": "always",
        "panel": "new",
        "showReuseMessage": true,
        "clear": true
      },
      "problemMatcher": []
    }
  ]
}
Now run with Ctrl+Shift+P → “Tasks: Run Task” → “API: Run Smoke Tests”. Output appears in a dedicated terminal panel—fully debuggable with breakpoints if you attach the Node.js debugger.
Integrating with VS Code Debugger
Add a .vscode/launch.json config:
{
  "version": "0.2.0",
  "configurations": [
    {
      "type": "node",
      "request": "launch",
      "name": "Debug API Tests",
      "skipFiles": ["/**"],
      "program": "${workspaceFolder}/scripts/test-api.js",
      "envFile": "${workspaceFolder}/.env.local"
    }
  ]
}
Set breakpoints in test-api.js, press F5, and step through HTTP calls, inspect response objects, and validate JSON schemas in real time.
Chaining Requests & Stateful Testing
Extend the script to capture and reuse tokens, IDs, or cookies:
const loginRes = await axios.post('/auth/login', { email, password });
const token = loginRes.data.token;

const profileRes = await axios.get('/users/me', {
  headers: { Authorization: `Bearer ${token}` }
});
console.log(`Profile: ${profileRes.data.name}`);
This enables end-to-end flow testing (login → fetch profile → update settings → logout) — all inside VS Code, with full visibility into state transitions.
How to Test REST APIs Directly Inside VS Code Without Extra Apps: Method #5 — GitHub Codespaces + Dev Containers
For cloud-native teams, testing APIs directly inside VS Code *without extra apps* extends to remote environments. GitHub Codespaces (and Gitpod, VS Code Server) lets you define a fully reproducible, containerized dev environment—including pre-installed REST tools, auth tokens, and API test suites.
Defining a REST-Ready Dev Container
Create .devcontainer/devcontainer.json:
{
  "image": "mcr.microsoft.com/vscode/devcontainers/universal:2",
  "features": {
    "ghcr.io/devcontainers/features/node:1": {},
    "ghcr.io/devcontainers/features/python:1": {},
    "ghcr.io/devcontainers/features/github-cli:1": {}
  },
  "customizations": {
    "vscode": {
      "extensions": [
        "humao.rest-client",
        "mermade.openapi-lint"
      ]
    }
  },
  "postCreateCommand": "npm install -g httpie jq && mkdir -p /workspaces/.vscode && cp /workspaces/.devcontainer/settings.json /workspaces/.vscode/"
}
This ensures every team member—whether on M1 Mac, Windows 11, or Chromebook—gets identical tooling, extensions, and configs on codespace create.
Preloading Secrets & Environments Securely
Use GitHub Codespaces secrets (Settings → Codespaces → Secrets) to inject API_TOKEN, DB_URL, or STRIPE_KEY. Then reference them in .devcontainer/devcontainer.json:
"remoteEnv": {
  "API_TOKEN": "${localEnv:API_TOKEN}",
  "STAGING_BASE_URL": "https://staging-api.example.com/v1"
}
These are never committed, never exposed in logs, and only available inside the container—meeting SOC2 and HIPAA requirements for secret handling.
Running API Tests in CI/CD Contexts
Define a .github/workflows/api-test.yml that mirrors your dev container:
name: API Smoke Test
on: [pull_request]
jobs:
  test:
    runs-on: ubuntu-latest
    steps:
      - uses: actions/checkout@v4
      - name: Setup Node.js
        uses: actions/setup-node@v4
        with:
          node-version: '20'
      - name: Install dependencies
        run: npm ci
      - name: Run API tests
        run: node scripts/test-api.js
        env:
          API_BASE_URL: https://staging-api.example.com/v1
          API_TOKEN: ${{ secrets.STAGING_API_TOKEN }}
Now your local .http files and Node.js test scripts run *identically* in dev, staging, and CI—eliminating the “works on my machine” syndrome.
How to Test REST APIs Directly Inside VS Code Without Extra Apps: Method #6 — Language Server Protocol (LSP) Integrations for Auto-Completion & Validation
Advanced API testing isn’t just about sending requests—it’s about *preventing errors before they happen*. LSP-based extensions bring real-time OpenAPI validation, auto-completion for endpoints, and schema-aware request body generation—directly in your .http or .ts files.
OpenAPI-Powered IntelliSense in .http Files
Install the YAML extension (by Red Hat) + OpenAPI Linter. Then reference your openapi.yaml in a .http file:
### GET /users (from OpenAPI spec)
GET {{baseUrl}}/users
Accept: application/json

### POST /users (auto-completed from spec)
POST {{baseUrl}}/users
Content-Type: application/json

{
  "name": "John Doe",
  "email": "john@example.com"
}
With LSP enabled, typing POST {{baseUrl}}/ triggers auto-complete showing only paths defined in your OpenAPI spec—and pressing Ctrl+Space after { suggests required/optional fields with descriptions.
Schema Validation on Request Body & Response
Enable "yaml.schemas" in settings.json:
{
  "yaml.schemas": {
    "./openapi.yaml": "*.http"
  }
}
Now, if you send a POST /users with a missing email field (marked required: true in OpenAPI), VS Code underlines the JSON body and shows: Missing required property "email" (schema validation).
Generating TypeScript Clients from OpenAPI
Use OpenAPI Generator (by Ferdium) to auto-generate typed API clients:
- Right-click
openapi.yaml→ “Generate Client” → select “TypeScript Axios”. - Outputs
src/api/generated/with fully typedUserService,PostService, and request/response interfaces. - Now test *and consume* your API with zero runtime errors—IntelliSense validates every parameter, header, and response shape.
This closes the loop: design → document → test → implement → validate—all inside VS Code.
How to Test REST APIs Directly Inside VS Code Without Extra Apps: Method #7 — VS Code Webviews for Custom API Dashboards
For teams building internal tools, admin panels, or QA dashboards, VS Code’s Webview API lets you embed interactive, web-based API testers directly in the editor—no external browser needed.
Building a Minimal Webview API Tester
Create src/extension.ts:
import * as vscode from 'vscode';
export function activate(context: vscode.ExtensionContext) {
let disposable = vscode.commands.registerCommand('extension.apiTester', () => {
const panel = vscode.window.createWebviewPanel(
'apiTester',
'API Tester',
vscode.ViewColumn.One,
{ enableScripts: true }
);
panel.webview.html = getWebviewContent();
});
context.subscriptions.push(disposable);
}
function getWebviewContent() {
return `API Tester
function send(){fetch(document.getElementById('url').value).then(r=>r.json()).then(j=>document.getElementById('response').innerText=JSON.stringify(j,null,2))}`;
}Package as an extension (vsce package) and install locally. Now Ctrl+Shift+P → “API Tester” opens a fully functional, sandboxed web UI inside VS Code.
Embedding Real-Time Monitoring & Logs
Extend the Webview to fetch from your backend’s /metrics or /logs endpoints:
fetch('/api/metrics').then(r => r.json()).then(metrics => {
  document.getElementById('latency').innerText = metrics.p95_latency_ms;
  document.getElementById('errors').innerText = metrics.error_rate;
});
This transforms VS Code into an observability hub—showing API health, error rates, and response times *while you code*.
Sharing Dashboards Across Teams
Publish your Webview extension to the VS Code Marketplace. Teams can install it with one click—and get standardized, versioned API dashboards (e.g., “Stripe Webhook Tester”, “Auth0 Token Debugger”, “Stripe Webhook Tester”) that auto-update with your backend changes.
Frequently Asked Questions (FAQ)
Is the REST Client extension safe for production API keys?
Yes—when configured correctly. Store sensitive values like authToken in .vscode/settings.json (which should be .gitignored) or use VS Code’s Secret Storage API for encrypted, cross-session persistence. Never hardcode secrets in .http files.
Can I test GraphQL APIs the same way?
Absolutely. The REST Client extension supports POST with Content-Type: application/json and GraphQL query bodies. For richer tooling, add the Prisma GraphQL extension, which adds syntax highlighting, validation, and auto-complete for .graphql files and .http requests.
Does this work in VS Code for the Web (vscode.dev)?
Yes—with caveats. REST Client works in vscode.dev, but requires CORS-enabled APIs (since requests originate from https://vscode.dev). For localhost APIs, use GitHub Codespaces or enable CORS headers in your dev server (app.use(cors()) in Express). The integrated terminal is disabled in vscode.dev, so rely on REST Client or Webviews.
How do I migrate from Postman collections to VS Code?
Use the REST Client’s built-in Postman import: export your Postman collection as JSON, then run rest-client.importPostmanCollection from the command palette. It auto-generates .http files with environment variables, folders, and request history.
Can I run automated API tests on save?
Yes—via tasks.json + file watchers. Add a "problemMatcher" and configure "watch" mode, or use the Run on Save extension to trigger node scripts/test-api.js whenever openapi.yaml or src/api/ changes.
Final Thoughts: Your IDE Is Already Your Best API Testing Tool
We’ve covered seven distinct, production-proven methods to How to Test REST APIs Directly Inside VS Code Without Extra Apps—from zero-configuration .http files and integrated terminals, to OpenAPI-powered LSP validation, containerized dev environments, and custom Webview dashboards. Each method eliminates friction, reduces security risk, and tightens the feedback loop between design, documentation, testing, and implementation. The future of API development isn’t about adding more tools—it’s about unlocking the latent power of the tools you already use every day. Start with REST Client. Automate with Tasks. Validate with OpenAPI. Scale with Codespaces. And never switch windows again.
Further Reading: