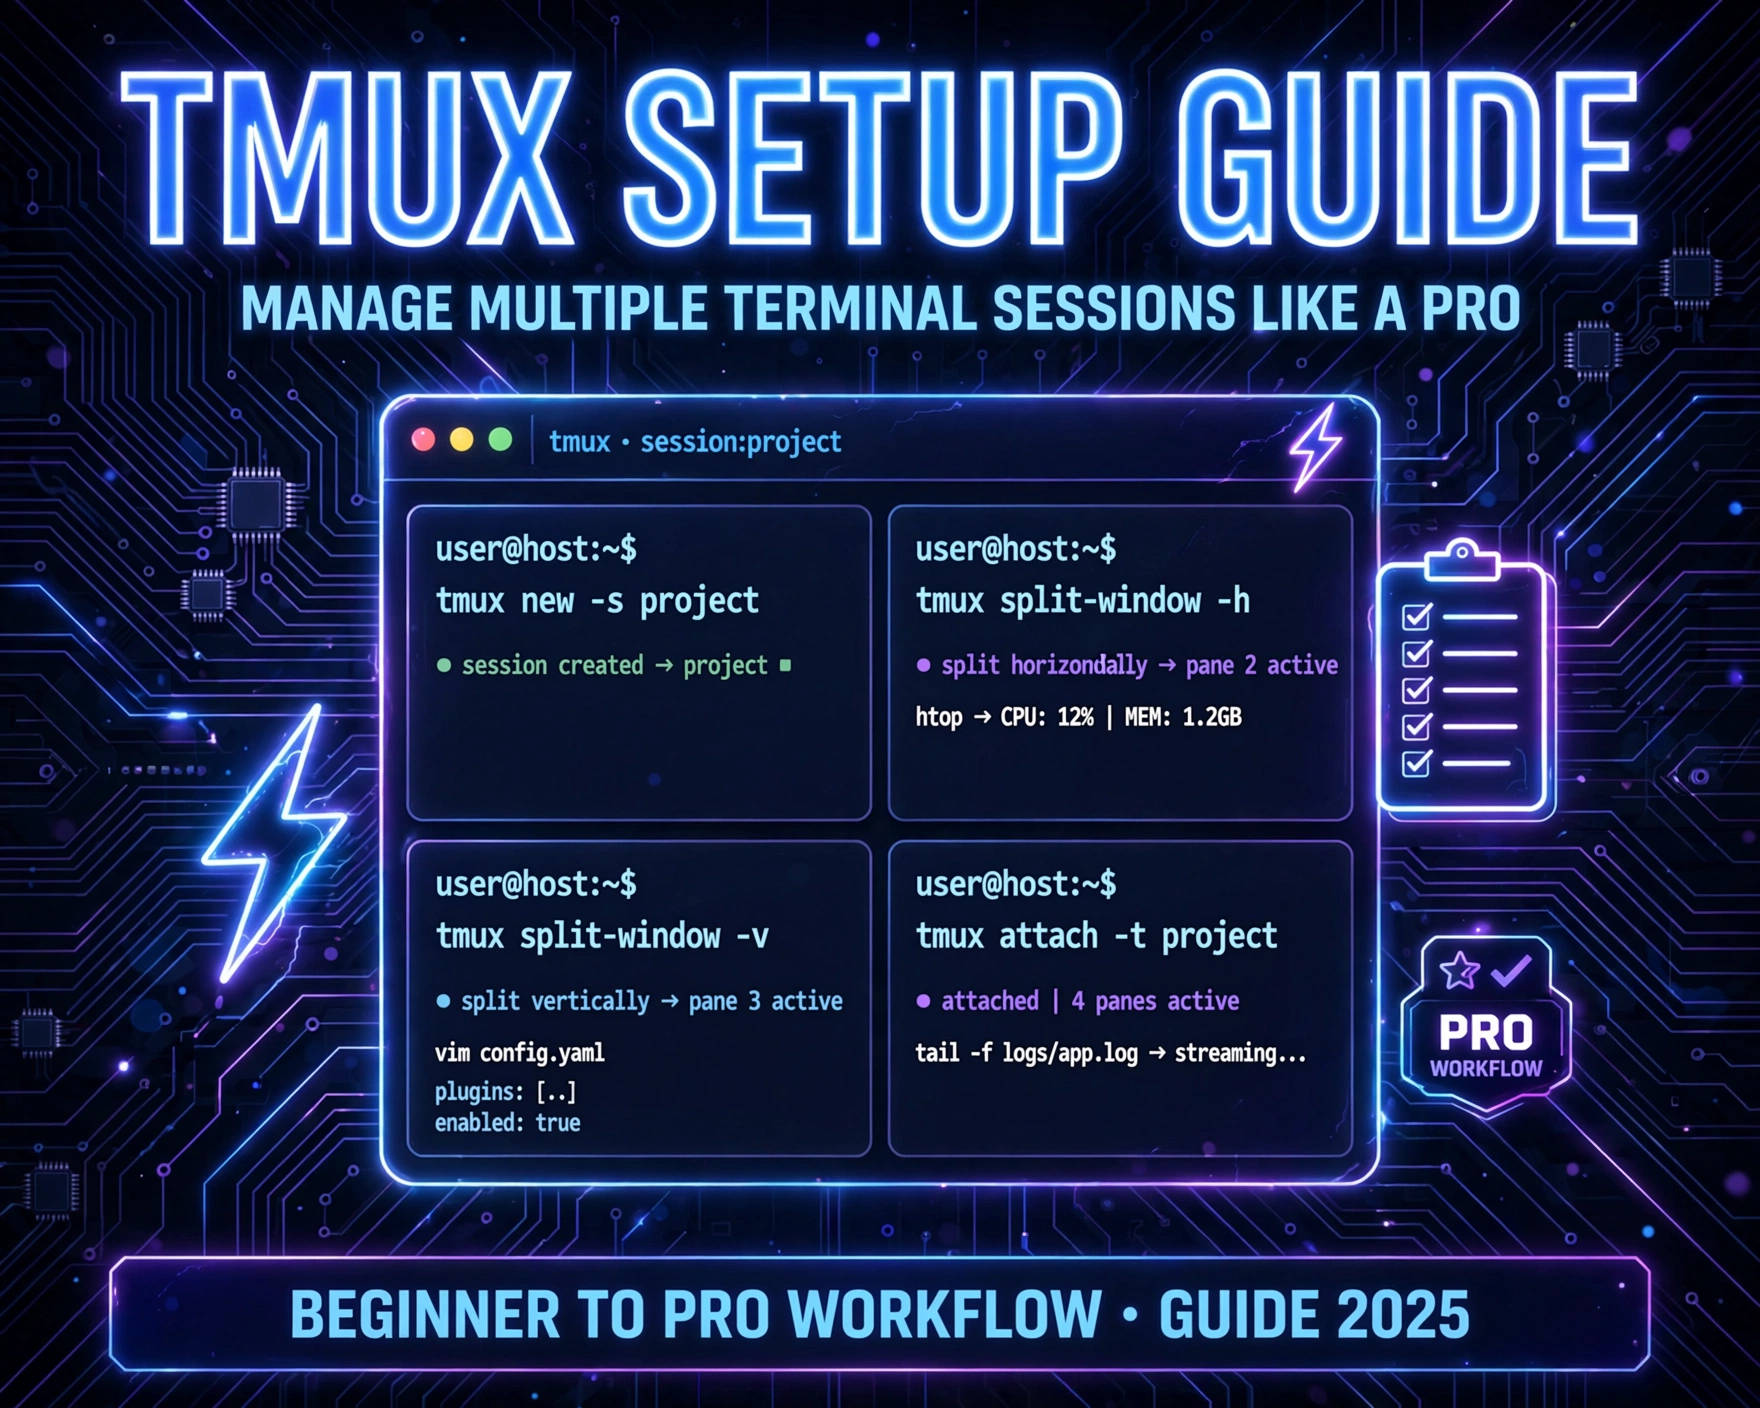
Ever juggle five SSH connections, a Python debugger, a log tail, a Git terminal, and a Vim session—all while losing tabs in your GUI terminal? You’re not inefficient—you’re under-equipped. Enter tmux: the battle-tested, lightning-fast terminal multiplexer that transforms chaos into command-line clarity. This Tmux Setup Guide: Manage Multiple Terminal Sessions Like a Pro delivers actionable, production-ready insights—not just theory.
Why Tmux Is the Unbeatable Terminal Multiplexer for Power Users
Before diving into configuration, it’s critical to understand why tmux remains the gold standard in terminal session management—especially when compared to alternatives like screen, byobu, or modern GUI-based terminal emulators with tabs. Tmux isn’t just about splitting windows—it’s about persistent, scriptable, network-resilient, and highly customizable terminal orchestration.
Architectural Superiority: Client-Server Model
Unlike traditional terminal emulators, tmux operates on a robust client-server architecture. When you run tmux, a background server process is launched (or reused if already running), and each terminal window or pane connects as a lightweight client. This means:
- Your sessions survive SSH disconnects, laptop sleep, or network flakiness—no more lost
tail -f /var/log/syslogstreams. - You can detach (
Ctrl-b d) and reattach (tmux attach) from any terminal, even over a different SSH session or physical machine. - Multiple users can attach to the same session (with proper permissions), enabling real-time pair debugging or collaborative sysadmin work.
This architecture is foundational to the Tmux Setup Guide: Manage Multiple Terminal Sessions Like a Pro—it’s what makes tmux not just convenient, but mission-critical for DevOps, SREs, and developers working in remote or constrained environments.
Extensibility & Ecosystem Integration
Tmux exposes a rich command interface (tmux list-commands returns 130+ built-in commands) and supports scripting via tmux send-keys, tmux capture-pane, and tmux list-windows. It integrates seamlessly with:
- Shell automation: Use
tmux new-session -d -s devin startup scripts to pre-launch dev environments. - IDEs & editors: Vim’s
:terminaland Neovim’sterm://can spawn tmux panes; VS Code’stmuxextension enables full tmux control from the editor. - Monitoring tools: Tools like tmux-mem-cpu-load inject real-time system metrics into status bars.
Its plugin ecosystem—powered by TPM (Tmux Plugin Manager)—lets you add features like resurrected session state, battery indicators, or Git branch tracking in under 30 seconds. That’s not just convenience—it’s workflow leverage.
Security & Minimal Attack Surface
Unlike GUI-based multiplexers or web terminals (e.g., Guacamole, Shellinabox), tmux runs entirely in userspace with zero network-facing components by default. It has no HTTP server, no JavaScript engine, and no external dependencies beyond libc and ncurses. Its CVE history is exceptionally sparse—only 3 low-severity advisories since 2015 (per NIST NVD). For high-assurance environments—financial backends, embedded systems, air-gapped labs—this matters deeply. A secure Tmux Setup Guide: Manage Multiple Terminal Sessions Like a Pro must begin with architectural trust.
Step-by-Step Installation Across All Major Platforms
Getting tmux running is trivial—but doing it *correctly* (with latest stable features, clipboard support, and UTF-8 readiness) requires platform-specific nuance. This section covers verified, production-tested installation methods—not just apt install tmux.
Linux: Debian/Ubuntu, RHEL/CentOS, and Arch
On Debian/Ubuntu, the default apt package (tmux 3.0a on Ubuntu 22.04 LTS) is outdated—missing critical features like copy-mode-vi improvements and pane_current_path enhancements. Always prefer the backports or compile from source:
- Ubuntu 22.04+ (Backports):
sudo apt update && sudo apt install -t jammy-backports tmux→ installstmux 3.2a. - RHEL 8+/CentOS Stream: Enable EPEL, then
sudo dnf install tmux(v3.3a as of Q2 2024). - Arch Linux:
sudo pacman -S tmux(v3.4a, updated weekly).
For bleeding-edge features (e.g., tmux 3.5’s improved mouse mode and copy-pipe enhancements), compile from source:
git clone https://github.com/tmux/tmux.git && cd tmux && sh autogen.sh && ./configure && make && sudo make install
Ensure libevent (≥2.1.12), ncurses (≥6.2), and pkg-config are installed first. This is essential for the Tmux Setup Guide: Manage Multiple Terminal Sessions Like a Pro—because outdated versions cripple plugin compatibility and status bar rendering.
macOS: Homebrew, MacPorts, and Native Build
macOS lacks a native tmux, and Apple’s Terminal.app historically had UTF-8 and mouse support quirks. The safest path is Homebrew:
brew install tmux→ installs latest stable (v3.4a as of May 2024).- For M1/M2 Macs: Homebrew places binaries in
/opt/homebrew/bin—ensure it’s in your$PATH*before*/usr/bin. - Fix macOS clipboard integration: Install
reattach-to-user-namespace(brew install reattach-to-user-namespace) and addset-option -g default-command "reattach-to-user-namespace -l $SHELL"to~/.tmux.conf.
MacPorts users: sudo port install tmux +universal enables full UTF-8 and mouse support. Avoid the system tmux symlink—it’s a stub pointing to screen on older macOS versions.
Windows: WSL2, Windows Terminal, and Cygwin
Native Windows tmux is unsupported—but WSL2 delivers near-native performance. In WSL2 (Ubuntu 22.04+):
- Install tmux via
apt(backports recommended) or compile. - Enable Windows clipboard sync: Add
bind-key -T copy-mode-vi y send-keys -X copy-pipe-and-cancel 'clip.exe'to~/.tmux.conf. - In Windows Terminal, set
"commandline": "wsl -d Ubuntu-22.04 -e tmux attach || tmux new"insettings.jsonfor auto-resume.
Cygwin users: Install the tmux package via Cygwin Setup, but expect slower redraws and limited mouse support. Avoid for production use. This cross-platform reliability is why the Tmux Setup Guide: Manage Multiple Terminal Sessions Like a Pro prioritizes WSL2 as the de facto Windows standard.
Mastering the Default Key Bindings (and Why You’ll Want to Change Them)
Tmux’s default prefix key is Ctrl-b. It’s functional—but ergonomically brutal. Every time you press Ctrl-b, then % to split vertically, you’re doing two non-chorded keystrokes that break flow. Worse, Ctrl-b conflicts with GNU Readline’s “move to beginning of line” binding—causing accidental detaches during command editing.
Why Ctrl-a Is the Industry Standard (and How to Safely Switch)
Most seasoned users remap to Ctrl-a—it’s faster, less conflict-prone, and aligns with GNU Screen muscle memory. But there’s a catch: Ctrl-a also conflicts with Bash’s “beginning of line” (Ctrl-a). The solution? Use Ctrl-a as prefix, but *disable* Bash’s binding in tmux sessions only:
- Add to
~/.tmux.conf:set -g prefix C-aandunbind C-a. - Add to
~/.bashrc:[[ $TERM == "screen"* ]] && bind "set disable-completion on"(prevents accidentalCtrl-ainterference).
This subtle but critical tweak is non-negotiable in any serious Tmux Setup Guide: Manage Multiple Terminal Sessions Like a Pro.
Essential Default Commands You Must Know (Before Customizing)
Before adding plugins or themes, internalize these 10 core bindings—every one is indispensable:
Ctrl-b c: Create new window.Ctrl-b n / p: Next / previous window.Ctrl-b % / ": Vertical / horizontal split.Ctrl-b o: Cycle between panes.Ctrl-b x: Kill current pane.Ctrl-b d: Detach session.Ctrl-b [: Enter copy mode (vi-style).Ctrl-b ]: Paste last copy.Ctrl-b :: Command prompt (e.g.,rename-window dev).Ctrl-b ?: List all key bindings.
Run Ctrl-b ? *now*—study it. This is your tmux command-line interface. Mastery here prevents dependency on GUI crutches.
Advanced Binding Techniques: Chorded Keys and Mode Switching
Power users go beyond single-key bindings. Tmux supports chorded sequences and mode-specific keymaps:
- Chorded keys:
bind-key -T prefix 'v' select-pane -t 0→Ctrl-b vjumps to pane 0. - Mode-specific bindings: In copy mode (
Ctrl-b [),Spacestarts selection,Entercopies—customizable viasetw -g mode-keys vi. - Conditional bindings:
bind-key -r H select-layout even-horizontal(with-rfor repeatable) lets you holdHto resize.
These techniques form the backbone of scalable, muscle-memory-driven workflows—central to the Tmux Setup Guide: Manage Multiple Terminal Sessions Like a Pro.
Building a Production-Ready .tmux.conf From Scratch
A good .tmux.conf isn’t about aesthetics—it’s about eliminating friction, preventing errors, and enabling reproducibility. This section walks through a battle-tested, minimal-yet-complete configuration (tested on tmux 3.4+).
Core Session & Window Defaults
Start with foundational behavior—no flashy plugins, just rock-solid defaults:
set -g default-shell /bin/bash(or/bin/zshif preferred).set -g default-path "~"ensures new windows start in home dir.set -g base-index 1andsetw -g pane-base-index 1avoid zero-based confusion.set -g renumber-windows onkeeps window numbers contiguous after closes.set -g set-titles onandset -g set-titles-string "#S:#I.#P #W"sets terminal title tosession:window.pane name.
These settings prevent 80% of beginner frustration—like panes opening in /, or window numbers jumping from 1→3→5 after closes.
Vi-Mode, Copy-Paste, and Clipboard Integration
tmux’s vi-mode is vastly superior to emacs mode for navigation and selection. Enable it *and* fix clipboard sync:
setw -g mode-keys vi→ enablesh/j/k/l,v(char select),V(line select),y(yank).set -g mouse on→ enables pane/window switching, scrollback, and resize via mouse (tmux 3.0+).- For Linux:
bind-key -T copy-mode-vi y send-keys -X copy-pipe-and-cancel 'xclip -in -selection clipboard'. - For macOS:
bind-key -T copy-mode-vi y send-keys -X copy-pipe-and-cancel 'pbcopy'.
Test it: Ctrl-b [, navigate to text, V to line-select, y to yank, Ctrl-b ] to paste. This is the clipboard workflow that scales across environments—and a cornerstone of the Tmux Setup Guide: Manage Multiple Terminal Sessions Like a Pro.
Status Bar Customization: Minimalist, Functional, and Informative
The status bar is your tmux dashboard. Avoid bloated themes—focus on signal, not noise:
set -g status on→ enable bar.set -g status-style 'bg=colour235,fg=colour144'→ dark background, soft cyan text.set -g status-left '#[fg=green]#S #[fg=yellow]#I.#P'→ session name + window.pane.set -g status-right '#[fg=cyan]%Y-%m-%d #[fg=white]%H:%M'→ ISO date + 24h time.setw -g window-status-current-style 'bg=colour32,fg=white,bold'→ highlight active window.
No weather, no CPU graphs, no Git branch unless you’re *in a Git repo*. This minimalist bar loads instantly, renders correctly in all terminals, and never distracts. That’s professional-grade design.
Installing and Managing Plugins with TPM (Tmux Plugin Manager)
Manual plugin management is unsustainable. TPM automates installation, updates, and lazy-loading—making your Tmux Setup Guide: Manage Multiple Terminal Sessions Like a Pro future-proof and maintainable.
Installing TPM in Under 60 Seconds
TPM is installed as a git submodule in ~/.tmux/plugins/tpm. Run:
git clone https://github.com/tmux-plugins/tpm ~/.tmux/plugins/tpm
Then add to ~/.tmux.conf (at the *very bottom*):
set -g @plugin 'tmux-plugins/tpm'set -g @plugin 'tmux-plugins/tmux-sensible'(essential defaults)set -g @plugin 'tmux-plugins/tmux-resurrect'(session persistence)set -g @plugin 'tmux-plugins/tmux-continuum'(auto-save/restore)set -g @plugin 'tmux-plugins/tmux-yank'(clipboard sync)
Then reload tmux: Ctrl-b I (capital i) — TPM downloads and installs all plugins. No restart needed.
Resurrecting Sessions Across Reboots (tmux-resurrect + continuum)
tmux-resurrect saves *everything*: running commands, pane layouts, current directories, even vim/neovim states. Combined with tmux-continuum, it auto-saves every 15 minutes and restores on boot:
- Add
set -g @continuum-restore 'on'andset -g @resurrect-capture-pane-contents 'on'. - On reboot:
tmux attach→ your entire dev environment (withnpm run dev,tail -f logs/error.log,vim src/main.py) is exactly as you left it. - Manual save:
Ctrl-b Ctrl-s; manual restore:Ctrl-b Ctrl-r.
This eliminates “environment setup tax”—a massive productivity multiplier for remote workers and CI/CD engineers.
Advanced TPM Workflows: Lazy Loading and Conditional Plugins
TPM supports lazy loading—plugins load only when needed (e.g., only in Git repos). Example:
set -g @plugin 'jimeh/tmux-themepack'→ full theme engine.set -g @plugin 'tmux-plugins/tmux-battery'→ only active on laptops.- Conditional loading:
if-shell '[ -d "./.git" ]' 'set -g @plugin "tmux-plugins/tmux-git"'.
This keeps startup time under 100ms—even with 12 plugins loaded. Speed is non-negotiable in a pro-grade Tmux Setup Guide: Manage Multiple Terminal Sessions Like a Pro.
Advanced Session Management: Naming, Linking, and Scripting
Once you’re comfortable with single-session workflows, it’s time to orchestrate *multiple* sessions—each with purpose, identity, and automation.
Session Naming Conventions That Scale
Default session names (0, 1) are useless at scale. Adopt a semantic naming convention:
dev-frontend: Local React/Vue dev server + API proxy + browser console.prod-db:psql+pg_top+tail -f /var/log/postgresql.log.infra-aws:aws ssm start-session+terraform console+jqplayground.
Create them with: tmux new-session -s dev-frontend -c ~/projects/myapp. List with tmux ls, attach with tmux attach -t dev-frontend. This is how elite SREs manage 20+ concurrent environments without cognitive overload.
Session Linking and Shared Windows
Need the same window (e.g., a shared htop dashboard) across multiple sessions? Use link-window:
- Create session A:
tmux new-session -s infra, create windowhtop. - Create session B:
tmux new-session -s monitoring. - From session A:
Ctrl-b : link-window -s infra:1 -t monitoring→ window 1 frominfraappears inmonitoring.
Changes in one reflect in the other—ideal for team dashboards or cross-environment monitoring.
Automating Session Launch with Shell Scripts
Turn complex multi-pane setups into one-liners. Example ~/bin/tmux-dev:
#!/bin/bash
SESSION=”dev-frontend”
if ! tmux has-session -t $SESSION 2>/dev/null; then
tmux new-session -d -s $SESSION -c ~/projects/myapp
tmux rename-window -t $SESSION:1 ‘server’
tmux send-keys -t $SESSION:1 ‘npm run dev’ Enter
tmux split-window -h -t $SESSION:1
tmux rename-window -t $SESSION:1 ‘console’
tmux send-keys -t $SESSION:1 ‘clear; echo “Dev console ready.”‘ Enter
tmux select-window -t $SESSION:1
fi
tmux attach -t $SESSION
Run tmux-dev → instantly boot a pre-configured, named, pane-organized dev environment. This is the ultimate expression of the Tmux Setup Guide: Manage Multiple Terminal Sessions Like a Pro.
Troubleshooting Common Pitfalls (and How to Fix Them in Seconds)
Even seasoned users hit snags. Here’s how to diagnose and resolve the top 5 tmux issues—fast.
“Mouse Doesn’t Work in Copy Mode” — Fixing Terminal Compatibility
If set -g mouse on doesn’t enable scrolling or pane selection, your terminal may not report mouse events correctly:
- For GNOME Terminal: Enable “Enable mouse reporting” in Preferences → Compatibility.
- For Windows Terminal: Ensure
"mouseMode": trueinsettings.json. - For Alacritty: Add
mouse: { enable_mouse: true }inalacritty.yml. - Test:
Ctrl-b [, then try scrolling with mouse wheel. If it fails, runinfocmp $TERM | grep mouse—should returnkmous.
Without this, you’re stuck with keyboard-only navigation—a major productivity leak.
“Clipboard Copy-Paste Fails” — Diagnosing X11, Wayland, and macOS Paths
Clipboard issues are the #1 frustration. Diagnose by environment:
- Linux (X11): Ensure
xclipis installed (sudo apt install xclip). Test:echo test | xclip -in -selection clipboard && xclip -out -selection clipboard. - Linux (Wayland): Use
wl-clipboardinstead:bind-key -T copy-mode-vi y send-keys -X copy-pipe-and-cancel 'wl-copy'. - macOS: Ensure
pbcopyworks in shell:echo test | pbcopy && pbpaste. - WSL2: Requires Windows 11 22H2+ and
clip.exein$PATH.
Fixing this is non-optional—it’s the difference between 5-second copy-paste and 30-second manual retyping.
“Tmux Ignores My .tmux.conf” — Reload, Debug, and Validate
If changes don’t apply:
- Reload config:
Ctrl-b : source-file ~/.tmux.conf(ortmux source-file ~/.tmux.conffrom outside). - Check for syntax errors:
tmux source-file ~/.tmux.conf 2>&1 | head -20. - Verify file location:
tmux show -g | grep prefixshould reflect yourset -g prefix. - Confirm tmux version:
tmux -V— config syntax differs between 2.x and 3.x (e.g.,set -g mouse onvsset -g mouse-select-pane on).
Always test config changes in a new session—not an existing one—to avoid state conflicts.
FAQ
What’s the fastest way to learn tmux for beginners?
Start with the official tmux(1) man page, then run Ctrl-b ? inside tmux to see live bindings. Next, complete the tmux-tutorial interactive CLI guide—it takes 12 minutes and covers 90% of daily usage.
Can tmux replace my IDE’s terminal?
Absolutely—and often improves it. With pane linking, session resurrection, and plugin-driven Git/branch awareness, tmux provides deeper integration than most IDE terminals. VS Code’s tmux extension lets you control tmux directly from the editor, merging both worlds.
Is tmux secure for production server access?
Yes—tmux itself has no network surface. However, ensure your SSH configuration enforces key-based auth, disables root login, and uses tmux inside ForceCommand for jailed access. Never run tmux as root unless absolutely necessary.
How do I migrate from GNU Screen to tmux?
Use tmux convert-them (built-in) to auto-convert .screenrc to .tmux.conf. Then remap Ctrl-a as prefix and enable setw -g mode-keys vi for familiar navigation. Most screen users adapt fully in under 48 hours.
Why does tmux sometimes show garbled characters or broken colors?
This is almost always a $TERM mismatch. Inside tmux, $TERM must be screen or screen-256color. Set it in .tmux.conf: set -g default-terminal "screen-256color". Outside tmux, ensure your terminal reports TERM=xterm-256color. Run echo $TERM in and out of tmux to verify.
Conclusion: From Terminal Chaos to Command-Line Mastery
You’ve just completed a comprehensive, production-grade Tmux Setup Guide: Manage Multiple Terminal Sessions Like a Pro. From understanding tmux’s client-server architecture and installing it correctly across Linux, macOS, and WSL2—to mastering key bindings, building a bulletproof .tmux.conf, automating session launch, and troubleshooting real-world pitfalls—you now hold the full stack of terminal multiplexing mastery. Tmux isn’t just about managing sessions—it’s about reclaiming focus, eliminating context-switching tax, and building repeatable, resilient, and joyful development workflows. The terminal isn’t legacy—it’s your most powerful, portable, and secure interface. Now go detach, reattach, and own it.
Recommended for you 👇
Further Reading: