

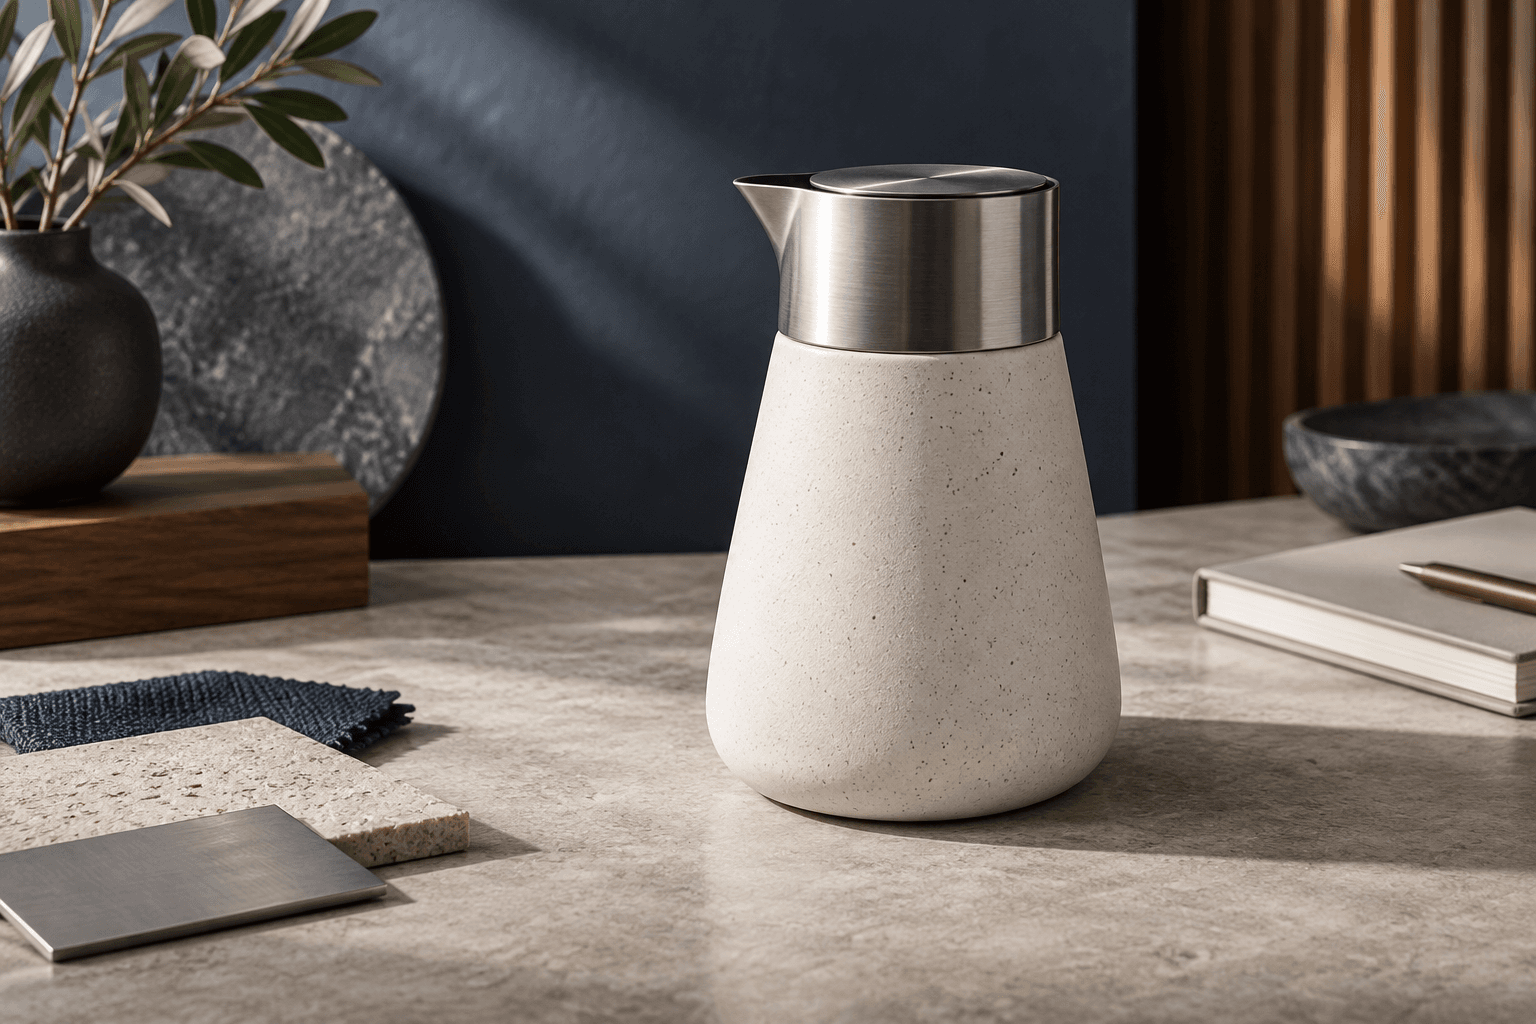
Consistency does not mean every generated image looks identical. It means the prompt repeatedly protects the visual qualities it claims to protect while allowing declared variables to change. A good test makes that distinction visible.
That matters because one successful image can hide an unstable instruction. The strongest result may be a lucky combination of subject, seed, interpretation, and framing. Testing a small set of controlled variations gives a more honest picture of what another person can expect.
1. Define what consistency means
Start by naming the qualities that must remain stable. For a product prompt, that may be a readable silhouette, a clear material relationship, and a three-quarter view. For a portrait prompt, it may be pose, facial clarity, and the relationship between subject and environment. For a logo concept, it may be one memorable mark, usable negative space, and a clean hierarchy.
Separate those stable qualities from the qualities that may vary. Background, palette, setting, or secondary props can change without making the test invalid if the prompt says they are variables. Without this distinction, any difference can be interpreted as either a failure or a feature.
Write a short success statement before generating: “The primary subject stays readable across four settings while the background changes.” This statement becomes a better evaluation target than a vague request for “consistent quality.”
2. Freeze the final master prompt
Do not test a moving target. First prepare the final prompt with its stable instructions and visible variables. Then copy it exactly for every demo. If you improve the prompt halfway through, begin a new test set and label it as a new version.
A master prompt often includes subject, action or state, setting, composition, light, materials, palette, and output intent. Keep the order readable so another person can find the instruction that may explain a result. Use placeholders such as [SETTING] only for decisions you intend to change.
Record the generation date, tool or model name when relevant, output ratio, and prompt version. These details do not make the result more certain, but they make it easier to reproduce the test and understand why future generations might differ.
3. Choose useful variations
Change meaningful variables, not random words. Four demos might use the same subject in a drafting studio, a quiet listening room, a warm kitchen, and a dark editorial set. The environments test whether composition and lighting instructions continue to support the subject.
Keep the size of the change understandable. If the subject, ratio, camera angle, lighting, and palette all change at once, a failure tells you very little. A controlled set does not have to be scientific, but it should have a clear reason for every difference.
- Subject variation: tests whether the structure protects different forms or materials.
- Setting variation: tests whether the primary object remains dominant in different contexts.
- Light variation: tests visibility, shadow, and material separation.
- Placement variation: tests whether the composition survives the intended output sizes.
Choose variations that represent realistic use. Four nearly identical scenes can make a prompt look stronger than it is, while four unrelated concepts make comparison impossible.
4. Compare with a practical scorecard
Review the demos side by side. A simple scorecard can use three states: stable, mixed, or failed. Score the qualities you defined at the beginning rather than judging the images only by taste.
- Is the main subject recognizable?
- Does the composition preserve the intended viewpoint and priority?
- Does the light explain the material, face, or space?
- Does the stated ratio remain useful for the placement?
- Are artifacts acceptable for the intended use?
Look at both the group and the outliers. A single failure may reveal an edge case the prompt should mention. If all four results fail in the same way, the stable instruction may be unclear or the visual goal may be beyond what the workflow can reliably control.
Inspect at full size before making a conclusion. Hands, text, hardware, logos, eyes, reflections, and fine material details can look acceptable in a thumbnail and fail at production size.
5. Document failures, not just favorites
A useful test record includes the prompt version, variable configuration, selected images, and a short note about limitations. Write what happened: “The product remained readable, but the handle merged with the background in two variations.” That note is more useful than “sometimes weird.”
Do not remove a meaningful failure merely because it makes a page less impressive. A demo set is part of the evidence. If the public page claims four real demonstrations, the images should represent the final prompt and the stated range rather than being unrelated replacements.
When a failure is corrected, explain what changed. A new final master prompt requires a new demo set. This preserves traceability and stops a revised instruction from being presented as if it produced the original evidence.
6. Publish the evidence with the right claim
Use precise language. “Validated through four real generated demos” says what was tested. “Produces consistent results in every case” makes a much stronger promise and is rarely justified by a small set. Explain whether the demos test a range of settings, subjects, or output ratios.
Consistency is also not a substitute for human judgment. Check rights, consent, likeness, trademarks, factual context, and commercial suitability before using an output. A quality gate can catch defined issues, but it cannot decide every legal, editorial, or brand question for every use.
This is the principle behind the demonstrations in the Prompt Harend library. The goal is not to imply perfect control; it is to make the prompt, evidence, and limits easier to understand. For the writing framework behind the tests, read How to Write Better AI Image Prompts.